Many puff print issues stem from incorrect application parameters rather than the transfer itself. The window between under-pressed and scorched is narrower than for flat DTF or vinyl, so a few minutes of setup before the first piece saves a lot of reject sheets.
The numbers
| Variable | Value |
|---|---|
| Temperature | 150 to 160 °C (302 to 320 °F) |
| Dwell time | 10 to 15 seconds |
| Pressure | Medium to medium-firm |
| Peel | Hot peel (within 2 to 3 seconds of opening the press) |
| Second press | Optional, 5 seconds with parchment over the top |
3D puff sits at the top of the temperature range: 155 to 160 °C. Standard puff and stretch puff sit at the bottom: 150 to 155 °C.
Before you press
A few things to confirm with the first piece of the run:
Check your press calibration. Heat presses drift. Run an infrared thermometer across the platen surface; you want even temperature across the print area, not just the centre. Hot spots show up as scorched puff.
Pre-press the garment. 3 to 5 seconds of dry heat removes moisture and flattens fibers. Skipping this step is the most common reason a puff print sits crooked on a fleece hoodie.
Position with the release sheet on top, ink side down. All four common puff families ship the same way: release film on top, foam ink down against the fabric.
The press itself
Close the press to medium-firm pressure. Too soft means the foam under-rises and the print looks pancaked. Too firm means the foam squishes outward, the edges blur, and the lift comes back uneven.
Hold for 10 to 15 seconds. Newer presses with even heat distribution hit the lower number; older swing-away presses sometimes need the longer end.
The peel
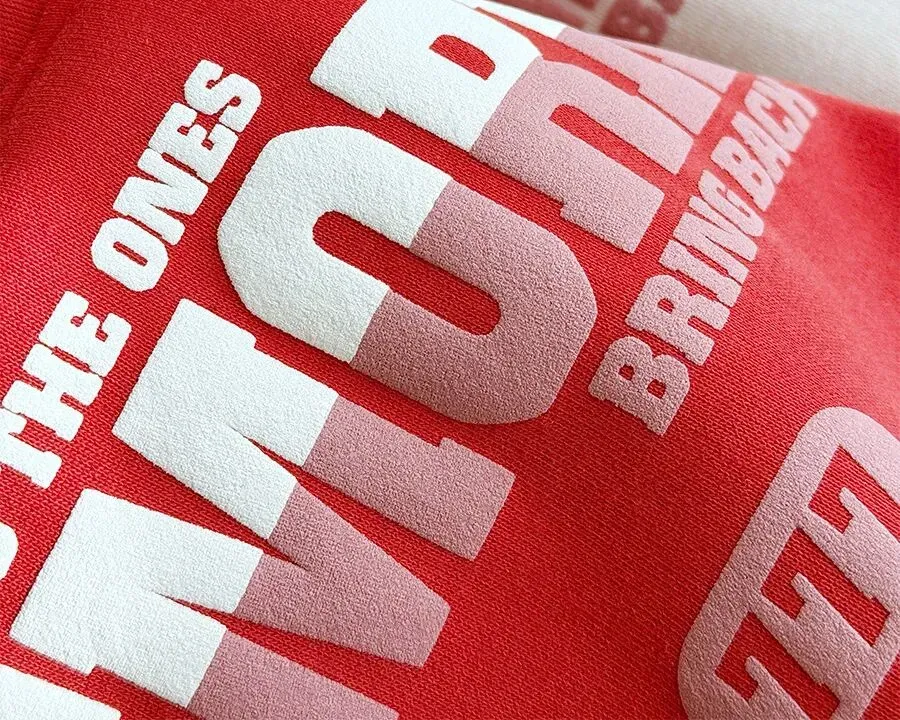
Hot peel. Open the press, count 2 to 3 seconds, peel the release film off in one smooth motion from one corner to the diagonal opposite. Slow peels lift fragments of foam ink with the carrier.
If a corner of the print stays on the film, the press was either too cool or too short. Note it on the setting card and adjust the next piece.
Optional second press
A 5-second cover press over a sheet of parchment paper compresses the surface slightly and locks the lift. Skip it if you want maximum height. Use it if the brief asks for a matte hand instead of a slight gloss.
Common failure modes
| Symptom | Probable cause |
|---|---|
| Print looks flat, no lift | Temperature too low or dwell too short |
| Surface looks bubbled or scorched | Temperature too high |
| Edges blurred or wider than artwork | Pressure too firm |
| Foam under-rises in one spot only | Cold spot on platen, recalibrate press |
| Corner of ink stuck to release film | Cold peel, peel earlier next time |
| Print cracks after first wash | Under-pressed at application, not a transfer defect |
If any of these recur across a batch, stop pressing, recalibrate, and run a single setup piece before continuing. One destroyed setup piece is cheaper than fifty rejected garments.
After application: care to extend life
Recommend the end customer wash cold or warm, inside out, tumble dry low or hang. Avoid bleach and direct iron on the print. With those four rules, a properly applied puff print runs 50+ wash cycles before noticeable wear.
Need a printed copy
We ship a printed setting card sized for the press shelf with every order. If you would like a digital copy for your team before the first batch arrives, ask in the contact form and we will email a PDF.